Area of application
Coating thickness measurement in industrial painting and contract coating
More efficiency and precision in wet paint and powder coatings with coating thickness gauges from QNix®
WET PAINT – POWDER COATING

QNix® IN USE IN INDUSTRIAL PAINTING AND PAINT COATING
Protection of the paint and the measuring tip during measurement
Surface protection is particularly important for decorative coatings. To avoid leaving scratches or marks on the paint surface, the measuring tip of our measuring devices is fitted with a polished ruby. In addition, the ruby protects the measuring probe against wear, increases its service life and ensures repeatable measurement results.
Efficient measurement
Efficiency is becoming increasingly important in the field of contract coating and industrial painting. The proportion of the total expenditure can be very high – depending on how often you measure an object or a series and whether the measurements are also documented. The coating thickness gauges from QNix® are ergonomic and measure particularly quickly, even when several values are recorded in succession. With our QN9 PC software, documentation is even safer and faster: it supports users with preconfigurable, freely customizable report templates via drag and drop. Once you have created your report template, you can generate a report with just three clicks.
Precision and accuracy
To improve the accuracy of measurement results, a coating thickness gauge must be adjusted before use. Adjustment (often also called calibration) allows you to adapt the devices to the properties of the basic substrate. However, it is not necessary to adjust the QNix® measuring devices with foils for many applications.
Coating thickness gauges from QNix® have a measurement technology which, in combination with the factory calibration stored in the device, ensures precise and correct measurement results. A simple zero adjustment (normalization) of the device on the uncoated base substrate is usually sufficient. You can check the accuracy of the adjustment using calibration standards (calibration foils). In the case of deviating geometries or substrate properties, the QNix® 9500 supports you with a variety of adjustment functions for every application.
Simple operation
Technical work equipment is becoming increasingly complex today. They are designed to meet the individual requirements of each user. Coating thickness gauges in particular have many functions that are used in a wide variety of industries and have to cover many different requirements.
QNix® has set itself the task of developing measuring devices that are easy to use. In addition to the high Made-in-Germany quality, the easy-to-use concept is always a priority. We live up to this claim: with simple and fast coating thickness measurement or software-supported documentation of the results.
Our recommendations for this area of application
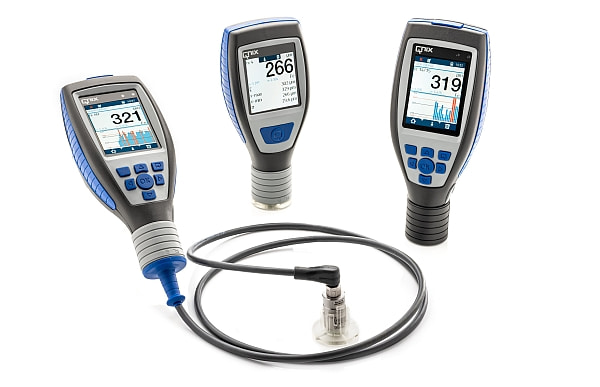
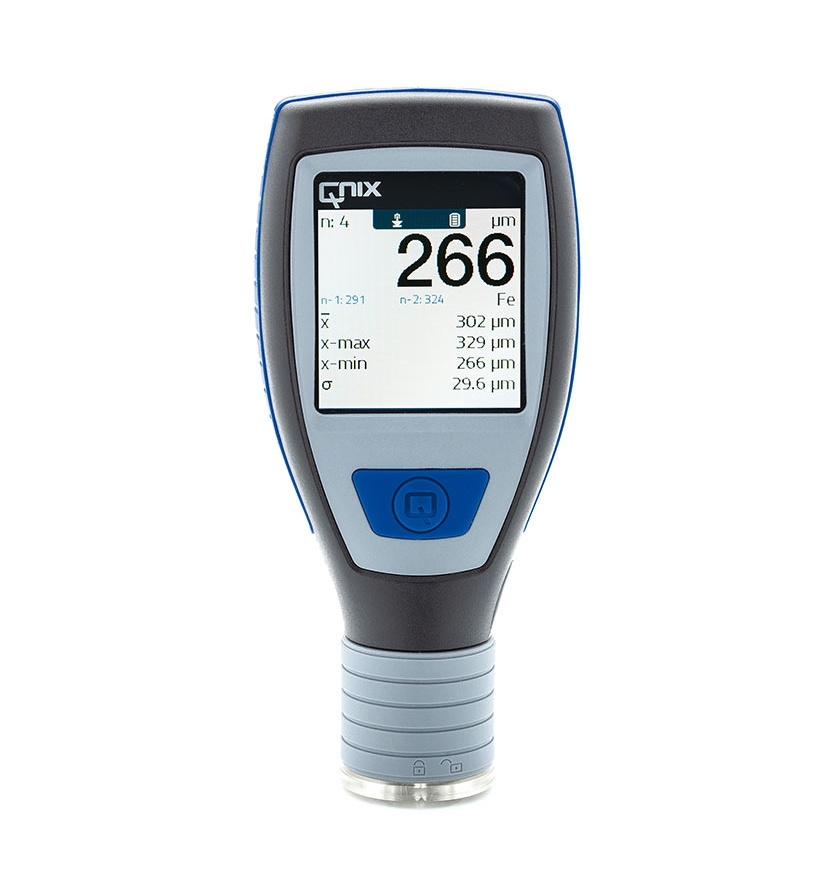
QNix®5500
Robust and compact measuring device for rapid measurement of coatings
IP65 dust and splash water protection
Large measuring range from 0 to 5000
µ
m
Bright color display
Automatic display alignment
Convenient one-handed operation
Statistics function for the last 100 measured values
Automatic substrate changeover
Polished ruby measuring tip as wear protection and to protect the paintwork when measuring and
Large contact surface for secure positioning
Available as an integrated and modular version
High measuring speeds of up to 120 measurements/minute
Simple and quick adjustment function (zero point adjustment) on the uncoated original substrate or on the reference standards supplied

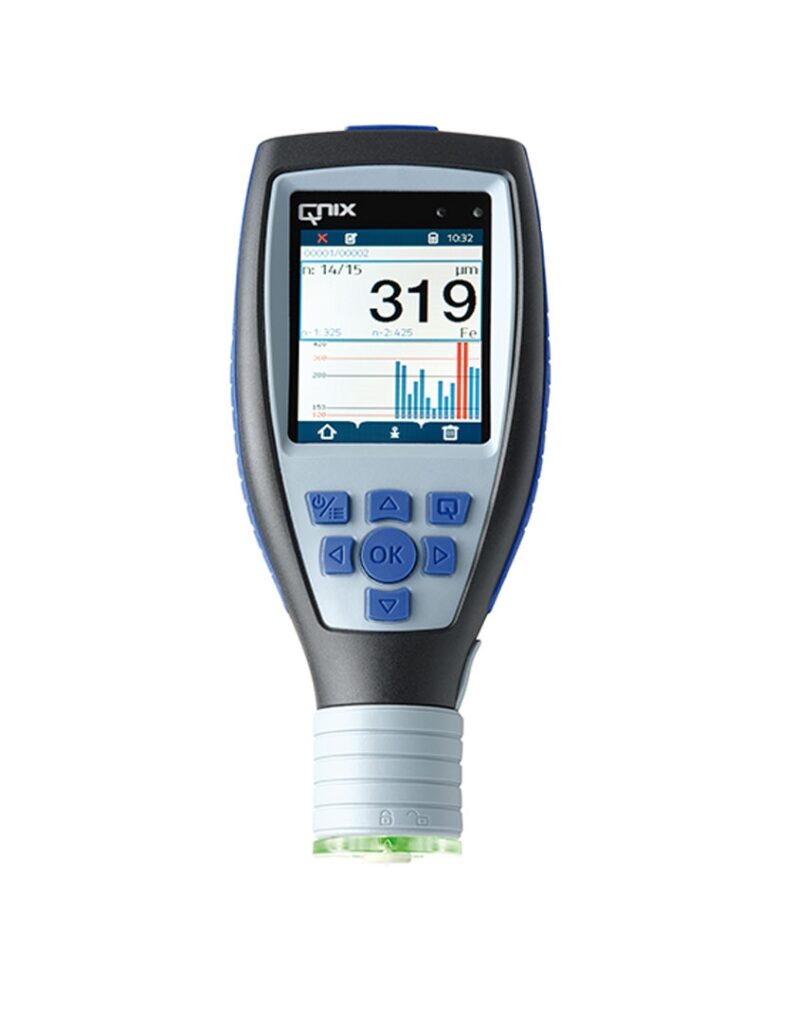
QNix® 9500
- Available as an integrated and modular version
- High measuring speeds of up to 120 measurements/minute
- Direct feedback via limit value display in the handheld unit display and RGB LED on the probe
- Quick and easy adjustment function for all applications. However, it is not necessary to adjust the QNix® measuring devices with foils for many applications.
- Expandable, modular device system with interchangeable probes up to max. 5.000 µ m measuring range – guarantees subsequent adaptation to new measuring tasks over the entire product life cycle
- User-replaceable probe cable (for modular version)
- Duplex measurement mode for measuring multi-layer systems on steel with zinc and insulating layers
- Storage capacity up to max. 1.5 million measured values in over 100 jobs of 100 areas each with statistics function
- PC software for evaluation and documentation
- Quickly create reports with just three clicks

Other areas of application
Heavy-duty corrosion protection
Shipbuilding | Offshore | Bridges | Energy distribution | Chemical industry
Vehicle
Rating
Motor vehicle experts | vehicle dealers | body repairs
Surface
Refinement
Electroplating | Anodizing | Thin film
