Coating thickness measurement – ensuring surfaces and materials look exactly as intended.
Coating thickness measurement tells you how thick the paint or protective layer on a surface is. In the automotive industry, it ensures flawless finishes. In manufacturing, it protects against rust. And in metal finishing, it’s simply essential.
In short: without coating thickness measurement, consistent high quality wouldn’t be possible in many industries.
What really matters in coating thickness measurement
Coating thickness measurement relies on various physical principles to precisely determine the thickness of paints, coatings, or other layers.
There are two main approaches: destructive and non-destructive measurement methods.
Destructive measurement methods
Destructive measurement methods are used when other techniques reach their limits. They are ideal for measuring particularly thick layers or complex coating systems.
However, these methods come with a major drawback: they damage the workpiece and alter its surface, making the tested material unusable afterward.
In contrast, QNix® gauges offer non-destructive measurement – precise, fast, and without damaging the material.

Non-Destructive Measurement Methods
Do you want to inspect coatings quickly and efficiently without damaging the material?
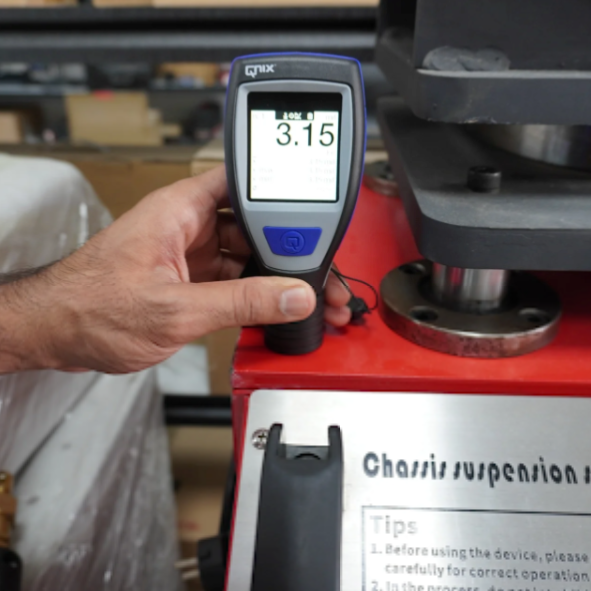
Our coating thickness measurement saves you time and costs by allowing you to reliably measure coating thicknesses in series production.
Two methods are used for this purpose: the magnetic induction method for steel and the eddy current method for non-ferrous metals.
This makes them ideal for use in ongoing production processes.
Measurement methods in detail
At QNix®, we rely on two proven methods that enable fast and non-destructive coating thickness measurement.
This method generates a magnetic field that interacts with the magnetic properties of the material.
The measuring device detects how much the magnetic field is altered and uses this information to calculate the coating thickness.
In this method, an electric field generates so-called “eddy currents” within the material. These currents respond to the substrate, allowing the coating thickness to be determined. It’s ideal for non-ferrous metals such as aluminum or copper.
The right solution for every measurement task.
QNix® offers a comprehensive range of coating thickness gauges tailored to various requirements. Each model impresses with easy handling and precise measurement results, ensuring you always have reliable data at your fingertips.
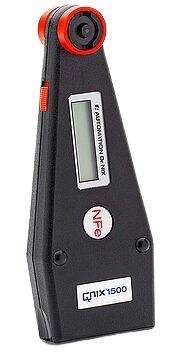
QNix® 1500
The classic in vehicle evaluation
Proven for vehicle evaluation and paint inspection.
No calibration required: simply place it, read the result, and you’re done.
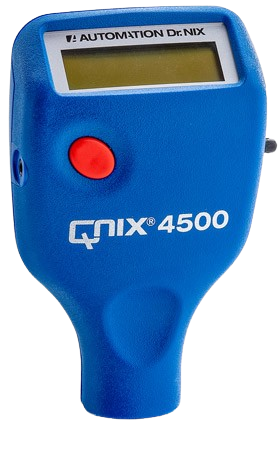
QNix® 4500
All-rounder with a wide range of applications
Reliable results for a wide range of applications.
Compact design and one-button operation for quick and easy use.
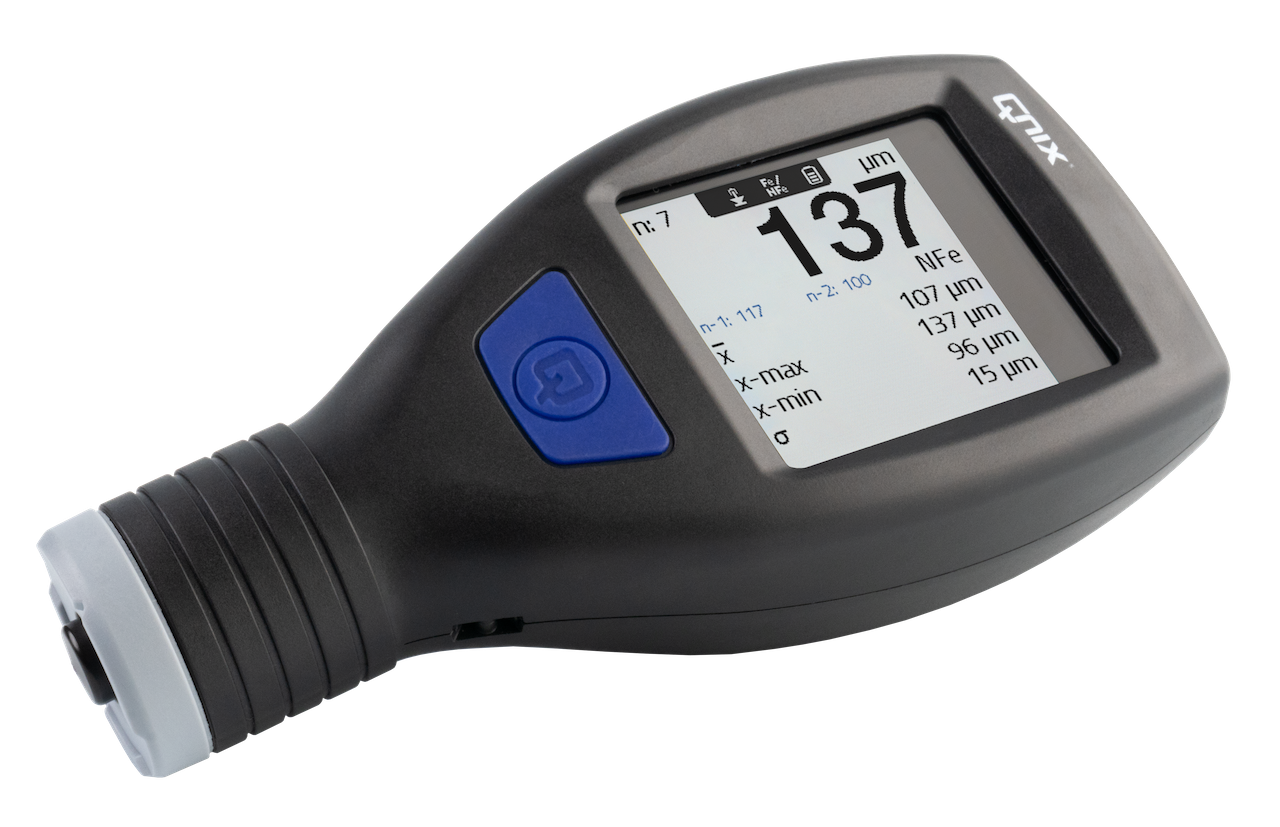
QNix® 4600
The global player for added convenience
Perfect for frequent measurements.
The convenient color display rotates automatically and remains clearly visible even when upside down.
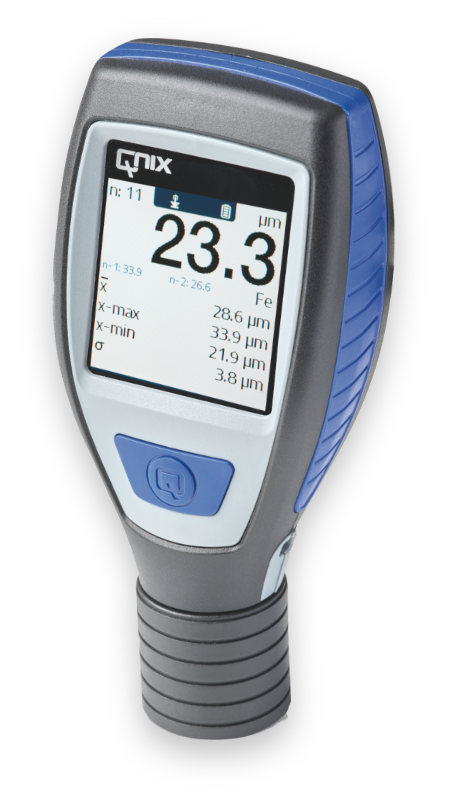
QNix® 5500
The easiest way to perfect measurement
Withstands dust, moisture, and harsh environments.
Interchangeable probes offer maximum flexibility on various materials (ferrous or non-ferrous).
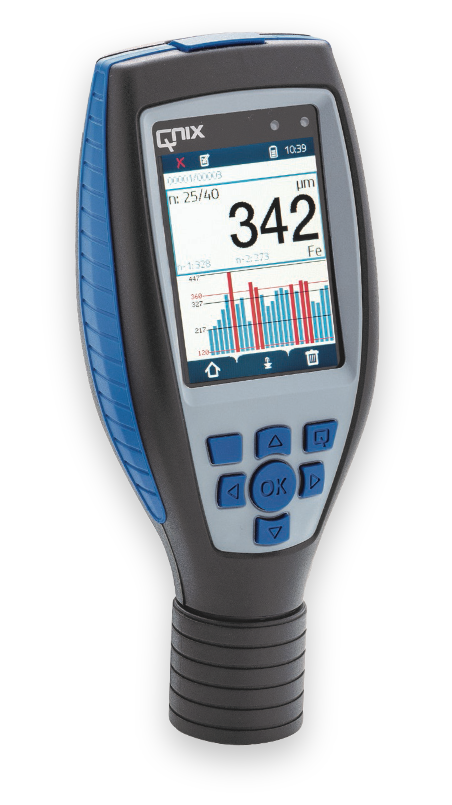
QNix® 9500
A field of application like no other
Captures even complex coating systems.
Offers extensive documentation options and integrated software for storing and analyzing data.
Why QNix® is the best choice for your industry
Our QNix® coating thickness gauges deliver precise results in many areas—even under challenging conditions. Whether for protective coatings on metal or paint layers in vehicle assessment, our devices always perform well. They are easy to use and ensure your measurements are quick and accurate. If you value the highest quality, you’ll find the perfect device for your needs with us.
Precision that hits the mark.
Standards and regulations in coating thickness measurement
Standards and norms ensure that measurements are always reliable and comparable.
At QNix®, we naturally comply with all relevant national and international standards. That means our coating thickness gauges consistently deliver clear and trustworthy data – giving you the confidence you need in your work.
And the best part: you can rely on that accuracy with every single measurement.
We’ll gladly put it in writing – all relevant certificates are available here.
Have questions about our certified procedures or the applications of our measuring devices?
We’re happy to advise you personally. Just contact us by email or phone.

Challenges, solutions, and practical tips
Measuring coatings can sometimes be challenging depending on the application.
But don’t worry – with the right QNix® gauge and a few helpful tips, you’ll be equipped to handle even the most demanding tasks:
Dealing with complex coating systems
When multiple layers are applied on top of each other or special coatings are used, precise measurement becomes especially important.
High-quality coating thickness gauges automatically detect the type of material you’re measuring – whether it’s steel, iron, or non-ferrous metals.
This means there’s no need for manual adjustments – your results are always accurate and reliable.
Calibration and Maintenance
Many coating thickness gauges don’t require constant calibration, but regular checks are still recommended – especially with frequent use.
This ensures that your device remains accurate and that you can rely on correct measurement results at all times.
Choosing the right measurement method
Depending on the material, different measurement methods are required. Some devices offer multiple options, such as magnetic induction for iron and steel or eddy current methods for non-ferrous metals. This allows you to always choose the appropriate method and stay flexible in your application.
Error prevention and quality assurance
Small mistakes, such as applying incorrect pressure or using a probe tip that hasn’t been properly cleaned, can distort measurement results.
Make sure to keep the probe tip clean and apply the correct pressure during measurement. This helps prevent errors and ensures your work meets the highest quality standards.
Allgemeine Fragen zu QNix®
Why is coating thickness measurement important?
It ensures that paints, coatings, or other layers have the correct thickness. This is important for quality, durability, and a flawless appearance.
What methods of coating thickness measurement are there?
There are destructive and non-destructive methods. Non-destructive methods include magnetic induction measurement and eddy current testing.
What is eddy current testing?
Eddy current testing measures coating thickness on non-ferromagnetic metals, such as aluminum or copper. A magnetic field induces small currents on the surface. The device detects these currents and calculates the coating thickness from them.
How does magnetic induction measurement work?
Magnetic induction is used on steel or other ferromagnetic metals. The device generates a magnetic field and measures how much this field is influenced by the coating. This allows it to determine the coating thickness.
What are the advantages of non-destructive testing methods?
These methods do not damage the workpiece. The measurement is fast and can be performed directly in production. Additionally, time and costs are saved because the components can continue to be used.
Which standards are relevant for coating thickness measurement?
Important standards include DIN EN ISO 2808, ISO 2178, and ASTM D 7091. They specify how precisely and under what conditions measurements should be taken, ensuring results are comparable worldwide.
How often should measuring devices be calibrated?
Regular calibration is generally recommended to maintain reliable measurement results. This can be done annually or after a certain number of measurements. Exact details can be found in the manufacturer’s instructions or the standards.
Get in touch with us.
We look forward to hearing from you.
Simply select the relevant topic and let us know how we can assist you. Our team will get in touch with you promptly and answer all your questions.
Your contact person
Metin Tek
Director Sales & Marketing
Head of Sales & Marketing
Tel: +49 221 91 74 55-23
Mobile: +49 160 92 75 69 97
E-Mail: m.tek@automation.de

