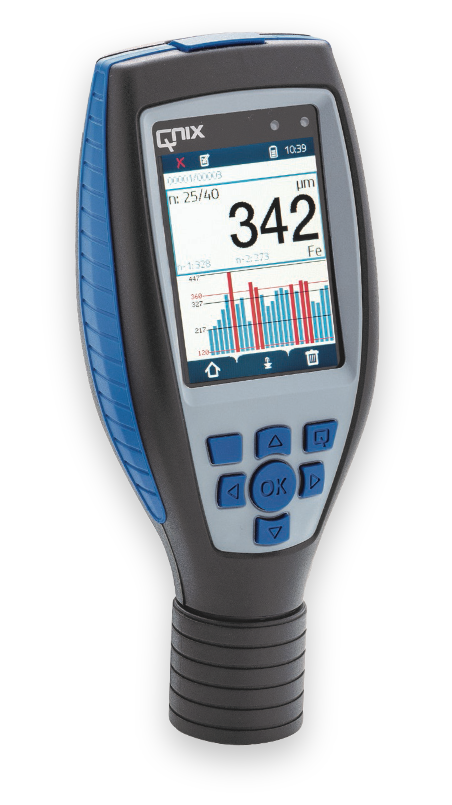
Both coating thickness gauges have a fiberglass-reinforced plastic housing, offer three-layer protection to absorb shocks and are dustproof and protected against water jets in accordance with IP65. The scratch- and impact-resistant color display adjusts to the position of the device if required. The new displays offer you a perfect representation of the measured values – even in strong ambient light. Like the housing, the stainless steel probes with protective membrane are extremely robust and dustproof and protected against water jets in accordance with IP65. The QNix® 5500 and QNix® 9500 impress with their long service life and consistently high accuracy.
Quick to understand and easy to use: this is our new generation of coating thickness gauges. Because we attach great importance to user-friendliness. That’s why the QNix® 5500 and QNix® 9500 are so easy and intuitive to use. In addition, clear feedback from the devices – visual and acoustic – and perfect adaptability to your individual requirements.
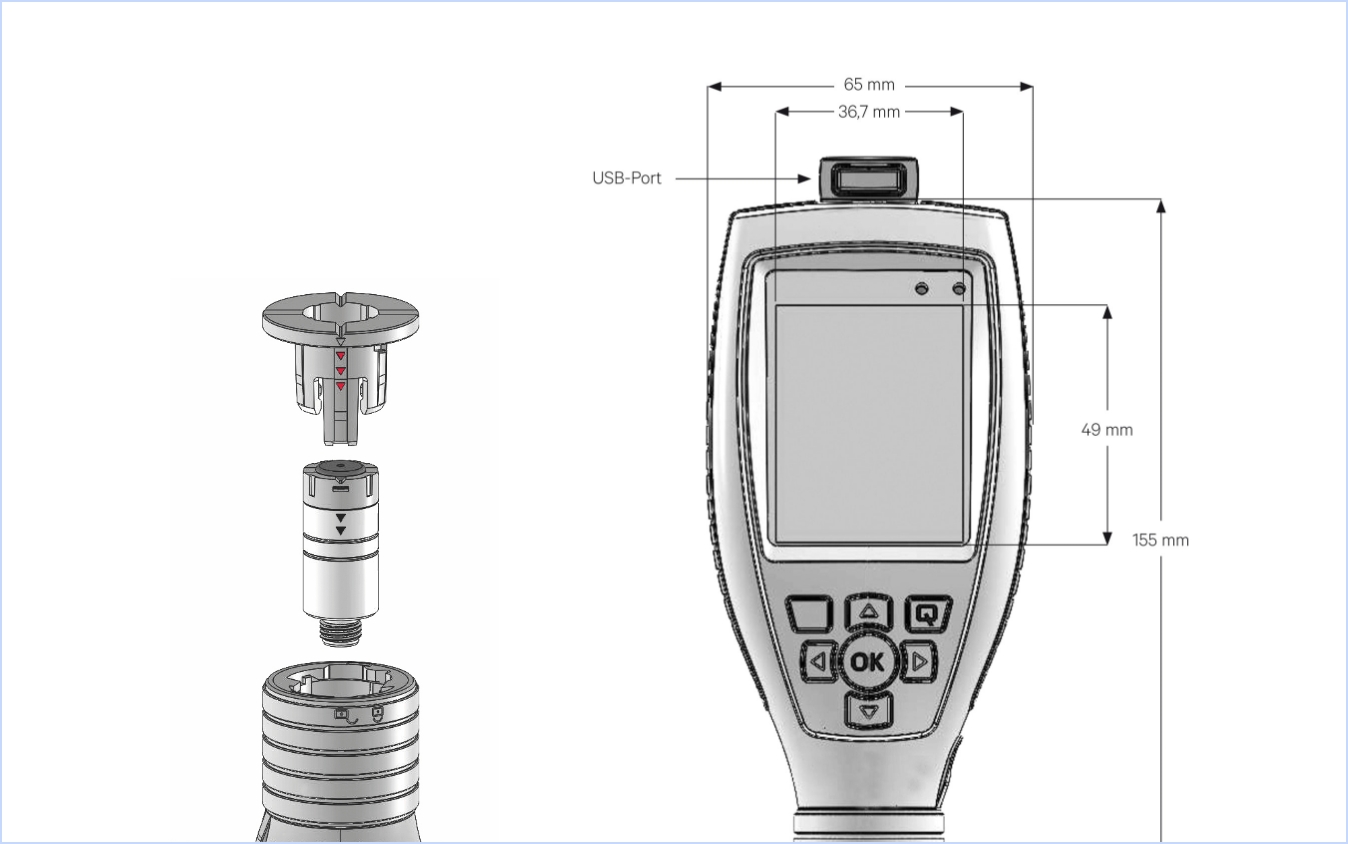
The focus is increasingly on individualization and flexibility, and the demands on modern coating thickness gauges in these areas are becoming ever greater. That is why we have concentrated on developing new probes. The autonomous intelligent probe has been specially designed for accuracy and flexibility. The new probes can also be used across all models. For example, you can combine any probe of the latest generation with any hand-held device. Regardless of whether the measuring range is 1.2 mm or 5 mm, regardless of the FE/NFe measuring principle and the measuring range. If required, the probes can also be used as cable probes.
Our stainless steel probes with protective membrane are very temperature-stable and achieve a high measuring speed of up to two measurements per second. The integrated LED limit value display makes any deviation immediately recognizable. Fe, NFe and dual probes are available for you.
With the QNix® 5500 and the QNix® 9500, efficiency means that you can read and document accurate readings in the shortest possible time. Saving time is an important feature that pays off directly as an economic advantage for you. Our coating thickness gauges stand out thanks to their very short measuring time, switch-on by placing the probe, user adjustment for standard tasks, ready-made templates for various standards, fast evaluation and documentation with the QN9 software, immediate evaluation of the measurement results directly on the gauge using statistics, graphics and visual and acoustic signals.
The basis for secure and intelligent documentation is the structured measurement data storage of the QNix® 9500. The measurement data is stored by batch, component, measuring range, vehicle, vehicle part or order number, for example, by creating so-called “jobs” and “areas”.
Each individual area can be set and preconfigured individually with different settings for adjustments, standards, limit values, number of measurements and automatic switching or automatic creation of areas. You can save the settings and transfer them to one or more devices. It is also possible to lock the settings using a PIN. The devices are prepared for specific measuring tasks and guide the user through the measuring task. This enables you to achieve a high level of process reliability.
Finally, the measurement results incl. of the most important settings very simply and quickly summarized and documented in a report. The reports are freely editable and can therefore be designed according to your requirements. Preconfigured and freely positionable text, table and graphic modules allow you to create report templates using drag-and-drop. Logos, photos, drawings and graphics of the measurement objects can also be easily integrated.
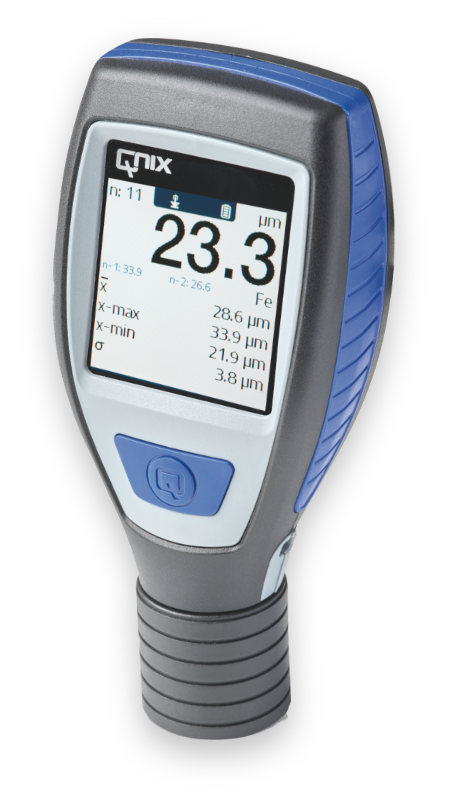
Image source: :i/i/d Institute for Integrated Design Bremen
Read on, use our support form or give us a call – we will be happy to advise you: +49 (0)221 91 74 55-0
Automation Dr. Nix GmbH & Co KG
Robert-Perthel-Strasse 2
50739 Cologne
Phone: +49 (0)221 91 74 55-0
Fax: +49 (0)221 91 74 55-29
info@automation.de