Coating thickness measurement in vehicle assessment
Our QNix® devices for vehicle assessment
We are pleased to introduce our QNix® measuring devices specially developed for the automotive sector. These devices provide precise and reliable results to optimally support you in vehicle assessment and automotive appraisals.
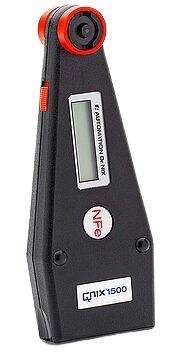
QNix® 1500
- Versatile: Measures on steel or aluminum without complicated calibration
- Convenient: Classic design including automatic on/off function
- Reliable: Robust ruby probe and a wide measuring range for precise results
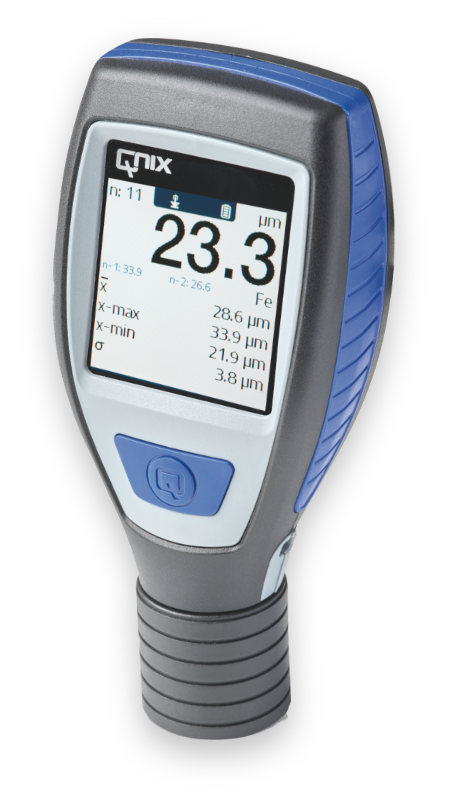
QNix® 5500
- Extremely durable: Protects against dust and splashing water – perfect for tough everyday use
- Fast and efficient: Quicker measurements thanks to automatic material detection
- Compact: Easy one-handed operation with a rotatable display
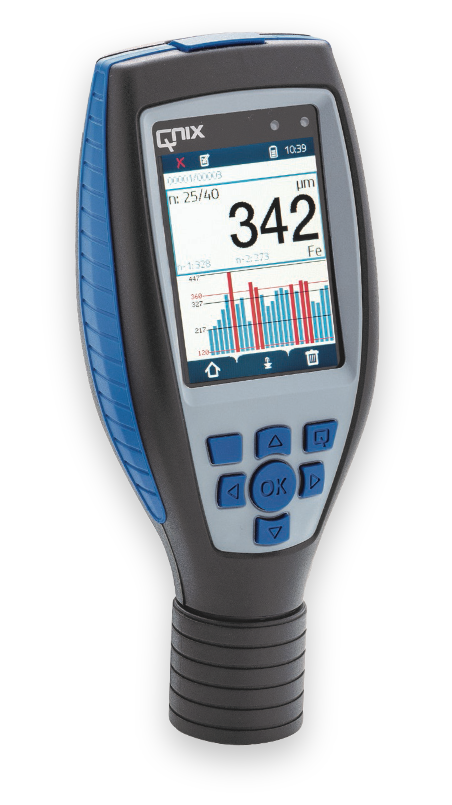
QNix® 9500
- Fast and precise: Also measures complex coating systems – ideal for demanding applications
- Flexible and easy to use: Modular design with interchangeable probes and user-friendly operation
- Perfect documentation: The integrated software lets you create custom reports and keep everything in view
Paint damage or not?
With QNix®, you always have the answer in your hand.
Our QNix® measuring devices are used in many areas—from classic vehicle assessment to precise analysis of paintwork.
Automotive experts
Precise measurements enable you to quickly detect hidden repainting or repairs—the foundation for well-founded appraisals.
Dealers
With reliable data, you support the buying and selling of vehicles, thereby building trust with your customers.
Body repair
Optimize your repair processes by precisely documenting the paint condition, ensuring targeted repairs.
Automotive painters
Use the precise measurements for quality assurance—for consistently perfect paint results.
Professional vehicle assessment
Whether accident and value appraisals, vehicle purchase, or sale: Our devices provide the foundation for objective and transparent assessments through comprehensive documentation of paintwork.
Why is coating thickness measurement so important in vehicle assessment?
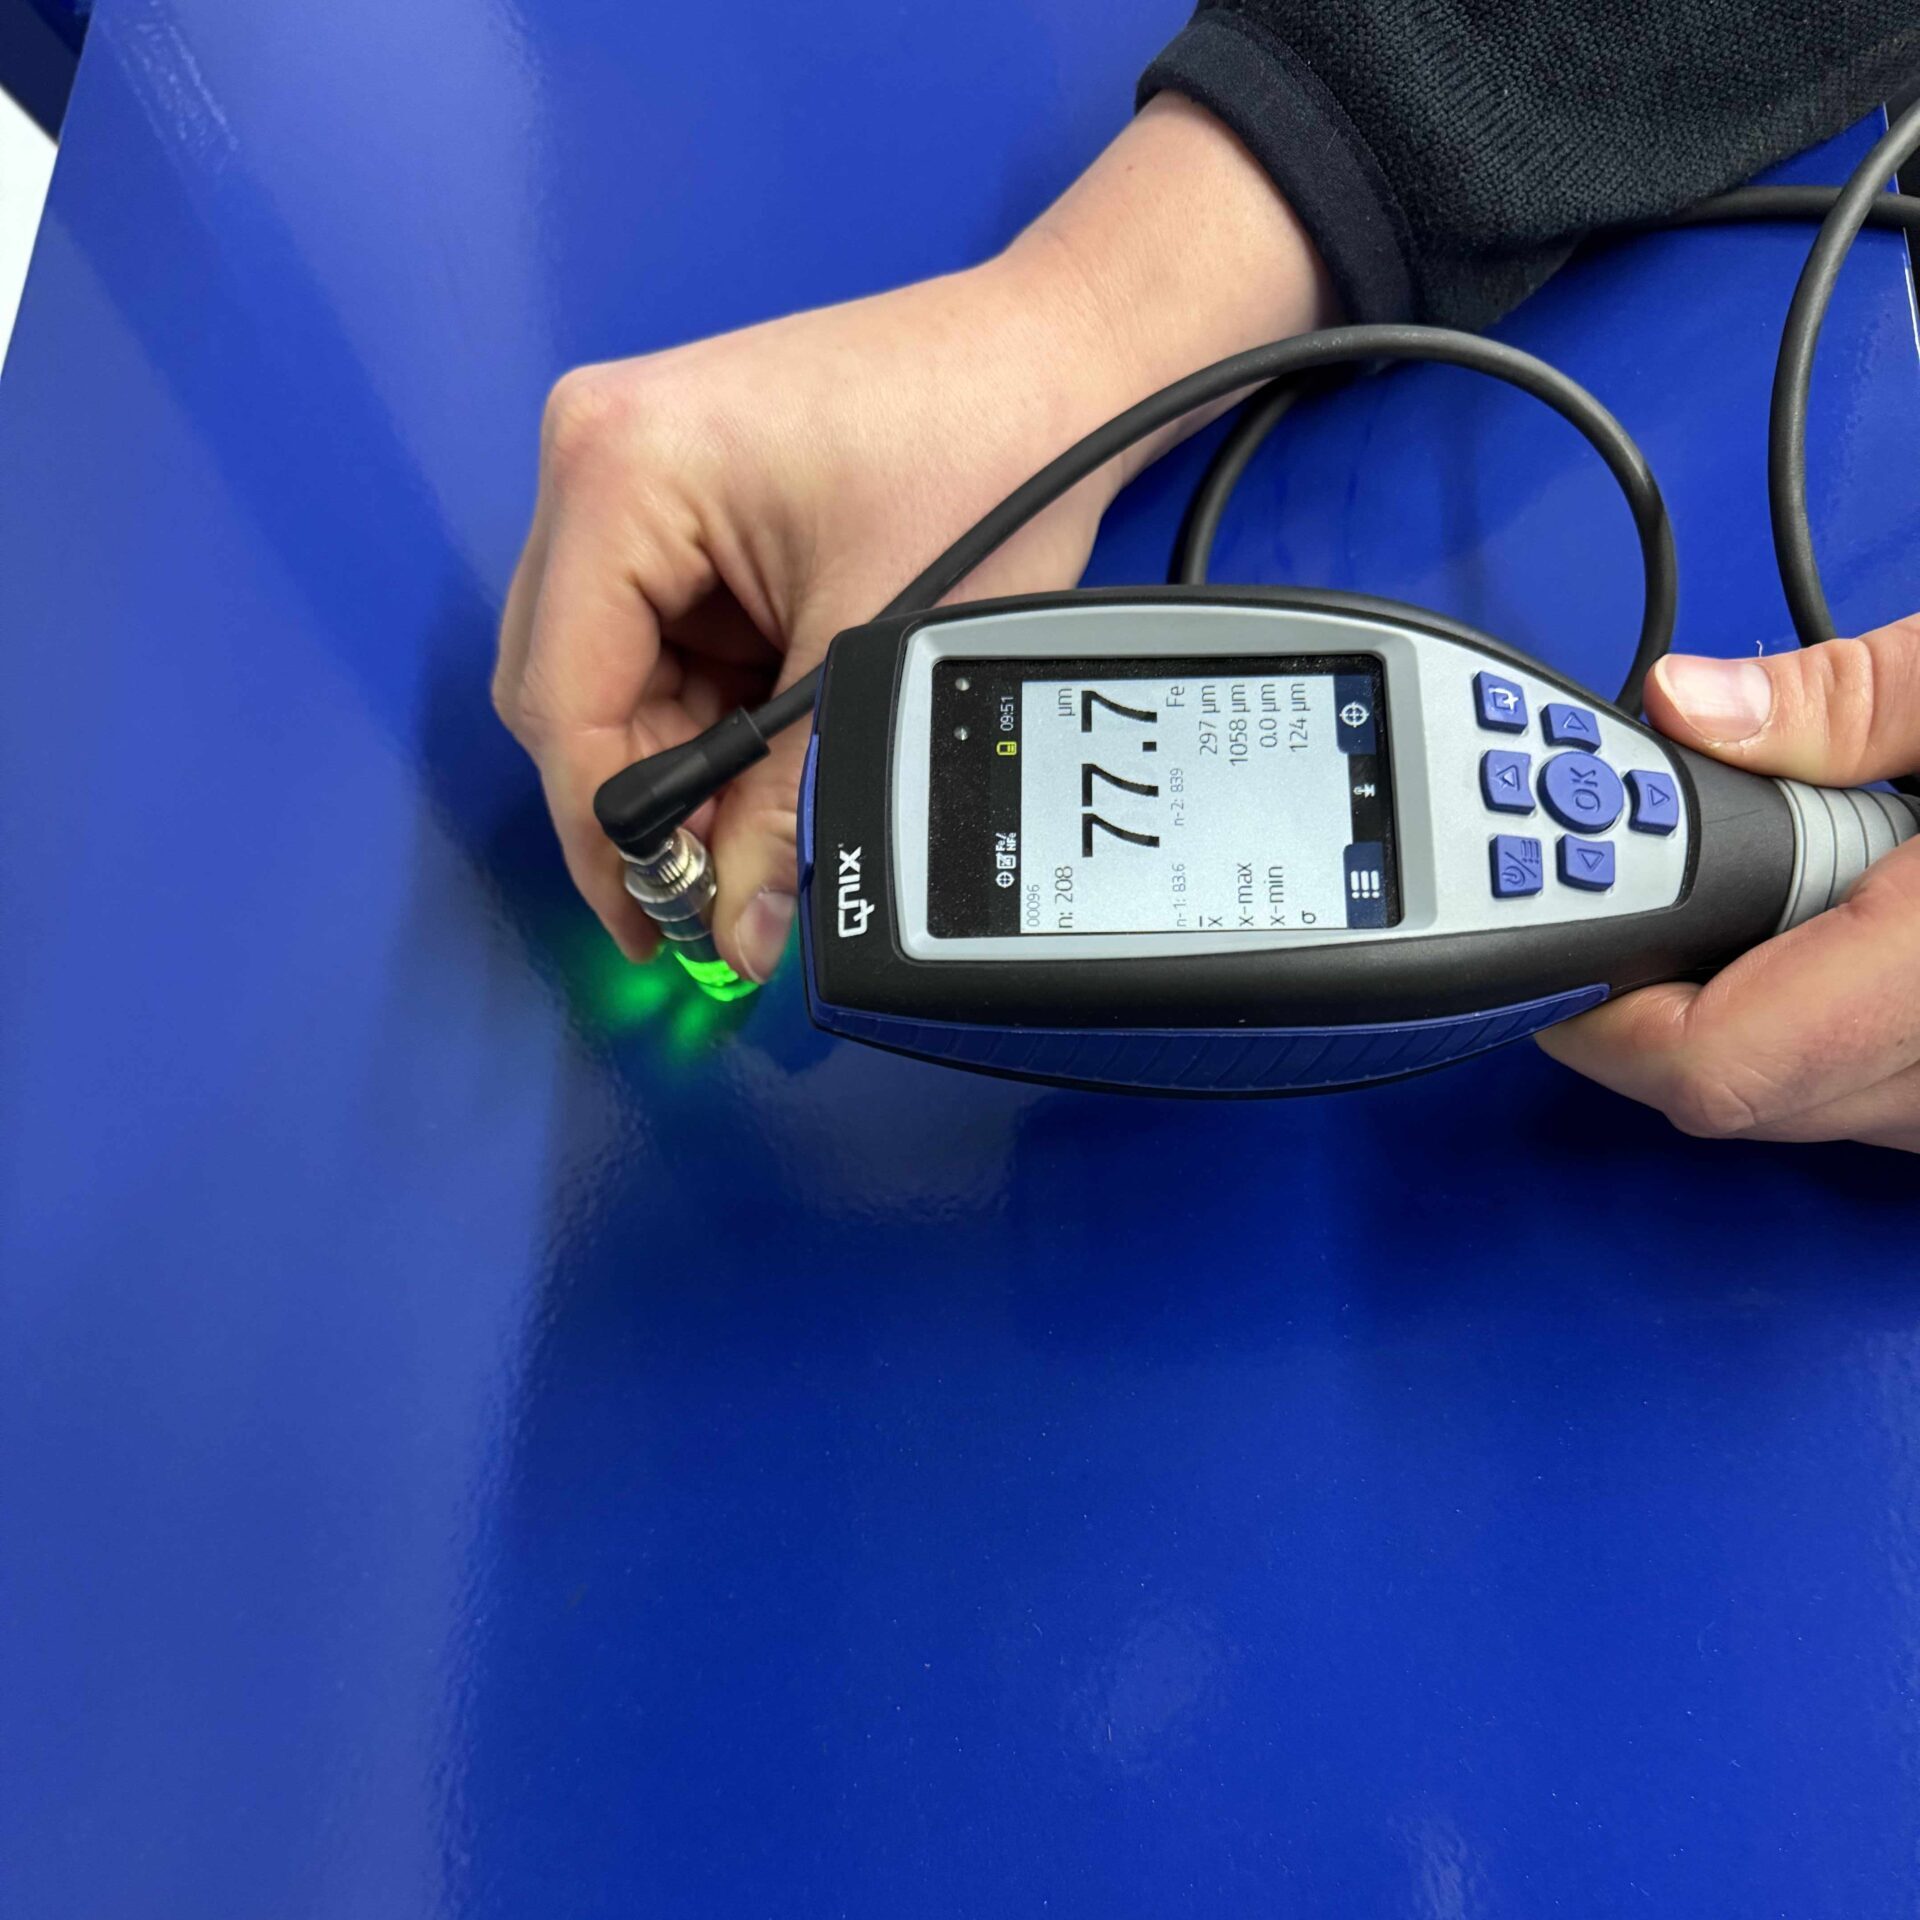
When buying a car, trust is key—and that’s exactly where coating thickness measurement helps you. With just a few measurements, appraisers, dealers, and workshops can immediately see whether the paint is original or has been repaired. This uncovers hidden damage that isn’t visible to the naked eye and helps avoid costly surprises. Additionally, it precisely determines how much potential damage affects the value—a fair basis for price negotiations. For buyers, this means security; for sellers, transparent proof of the vehicle’s condition. And for both parties, a clear foundation for fair deals.
Standards & regulations in vehicle assessment
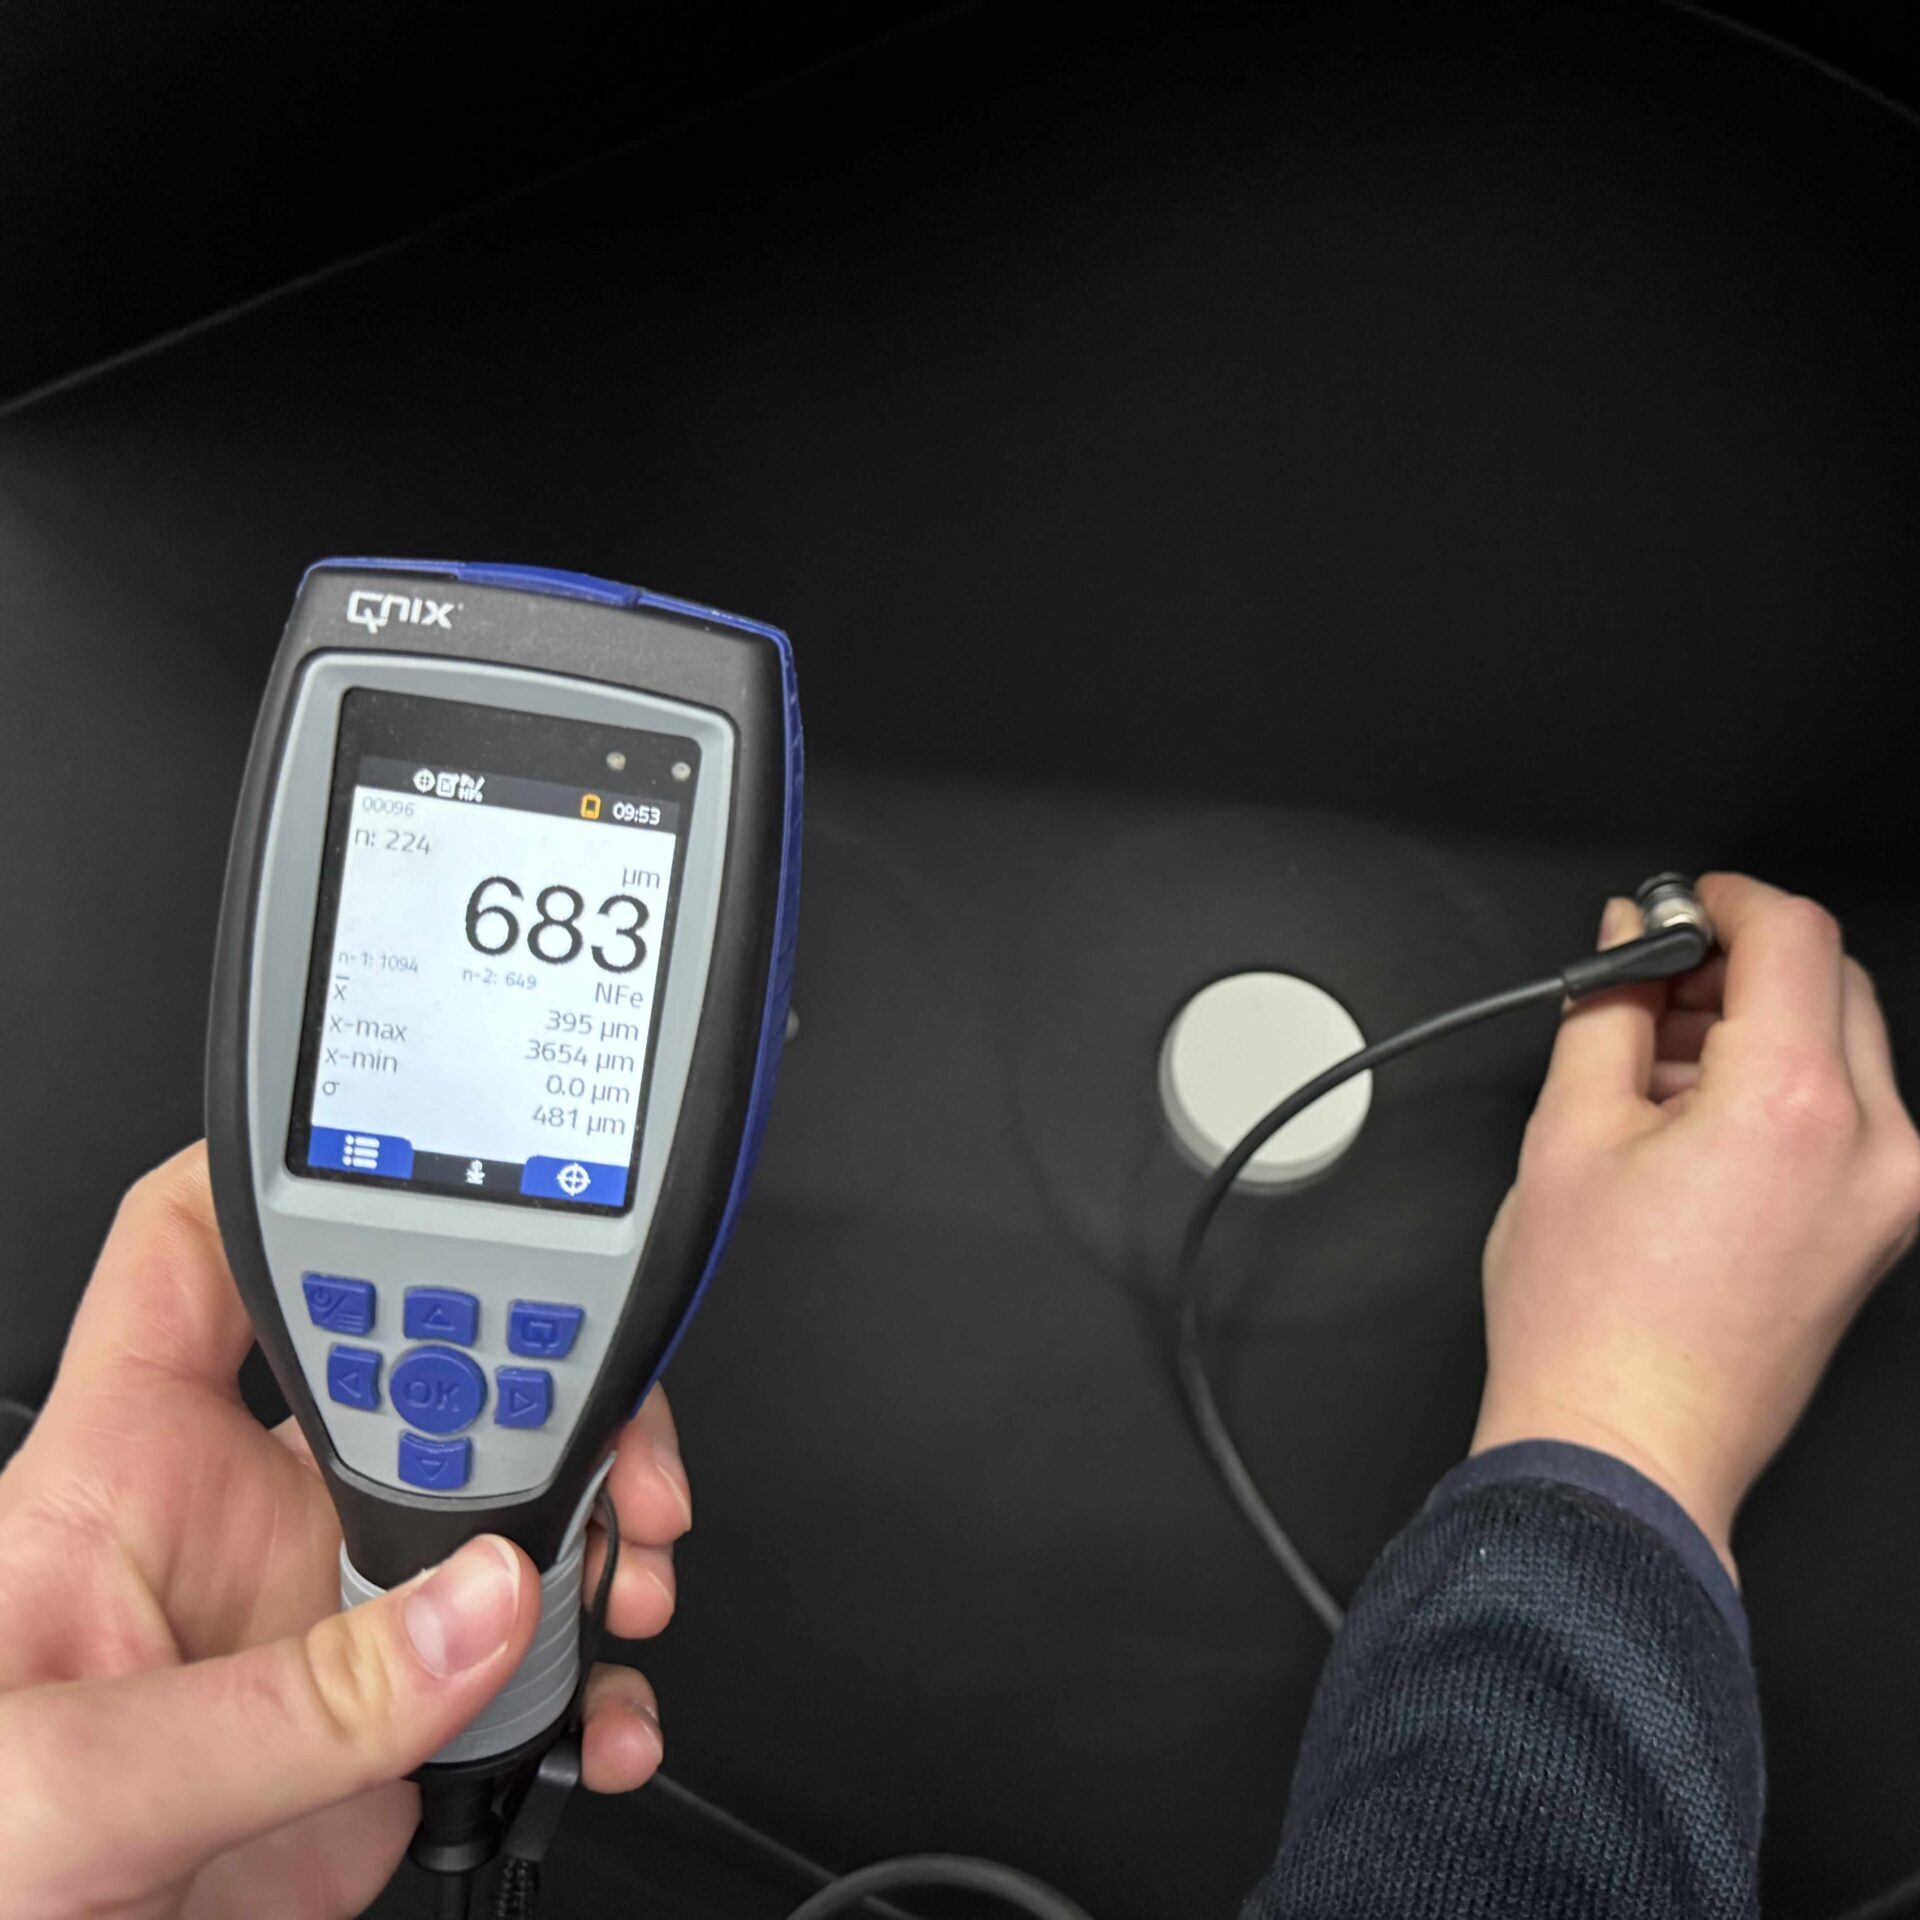
Challenges in paint inspection
In practice, paint inspection presents various challenges that require precise work and suitable equipment. One important question is the substrate you are measuring on. Coatings on steel, aluminum, or other metallic materials behave differently and often require different measurement methods. Additionally, concealed repairs like filler spots or thick paint layers after restorations are often barely visible to the naked eye. This is exactly where a reliable measuring device is essential to detect such hidden damages early.
The accuracy of the measurement also plays a major role. Even the smallest deviations in the paint layer can indicate repainting or other repairs and affect the vehicle’s value. With a precise device, you can detect even subtle differences. Our QNix® coating thickness gauges provide you with a solid foundation for objective and transparent vehicle assessments.
Two common measurement methods are used:
This method is suitable for measurements on iron and steel. The device detects changes in the magnetic flux to determine the thickness of the paint layer.
This method is used for non-ferrous metals such as aluminum. An electromagnetic alternating field determines the coating thickness without damaging the substrate.
With QNix®, you use technology that provides accurate results even in complex cases. This allows you to create precise appraisals and trustworthy vehicle assessments in no time.
Answers to frequently asked questions
Which Industries Are QNix® Coating Thickness Gauges Suitable For?
Our devices are used in many fields. This includes, for example, the metal industry—such as automotive manufacturing, railways, steel industry, mechanical engineering, shipbuilding, and aircraft construction. Our measuring devices are also in demand in the plastics and chemical industries. In electroplating, they are used for anodizing, chrome plating, or galvanizing. In addition, vehicle appraisers and paint shops (car dealerships, body shops, and experts) use our measuring devices. Maintenance and repair companies, as well as inspection organizations, also benefit from them. Finally, our devices are used in research and laboratory settings.
Can I Get Help Choosing the Right Device?
Yes, we are happy to support you. Are you looking for a simple device for the automotive sector? Or do you need a solution for demanding tasks in surface finishing? We will help you find the right QNix® model.
Are QNix® devices waterproof?
They are not suitable for underwater measurements. However, our devices are very robust and withstand demanding environments, such as in corrosion protection or shipbuilding. In addition, they are protected against dust and splashing water according to IP64.
Can the device measure on plastic or other non-metallic materials?
No. For such materials, we recommend an ultrasonic measuring device, which we do not currently offer in our range.
Does the measuring device need to be calibrated regularly?
There is no legal requirement for calibration. However, we recommend an annual inspection at our facility to ensure accuracy and to issue an up-to-date calibration certificate.
Can the devices measure on different materials?
Yes, our devices measure steel, aluminum, copper, and zinc. They are designed to be precise and easy to use. As a rule, no calibration or probe change is required.
Is there training or support available for the devices?
Yes, we offer training so you can make full use of our measuring devices. If you have any questions or issues, our support team is always available to assist you. Contact
Is the device delivered with batteries?
We deliver it with standard batteries. However, you can also easily use rechargeable batteries.
Which probe is suitable for very small geometries and measuring surfaces?
The QNix® 9500 with a pencil probe and customized user calibration is ideal for narrow or hard-to-reach areas.
Does surface roughness affect the measurements?
Yes, you should take that into account. With a model from QNix® 9500 Serie you can compensate for roughness using user calibration. A mean zero adjustment also provides more precise results here.
Can the devices measure on carbon (automotive)?
Unfortunately, that’s not possible. The rough structure of the material leads to inaccurate measurements.
What is the maximum surface temperature for coating thickness measurement devices?
Our devices cover a wide temperature range. They can be used at temperatures between -20 °C and +70 °C. Outside of this range, accuracy may decrease.
Which simple measuring device do you recommend?
Das QNix® 4600 oder das QNix® 5500 sind robuste Einsteigermodelle mit leichter Bedienung und zuverlässigen Ergebnissen.
How is the data transmission carried out?
Via a USB interface cable. This connection has proven to be particularly secure and reliable.
Does the accuracy vary depending on the measuring range?
No, the accuracy remains the same regardless of the measuring range. You can find the exact values in our technical specifications.
Get in touch with us.
We look forward to hearing from you.
Simply select the relevant topic and let us know how we can assist you. Our team will get in touch with you promptly and answer all your questions.
Your contact person
Metin Tek
Director Sales & Marketing
Head of Sales & Marketing
Tel: +49 221 91 74 55-23
Mobile: +49 160 92 75 69 97
E-Mail: m.tek@automation.de

