QNix® 5500
The coating thickness gauge – focusing on the essentials.
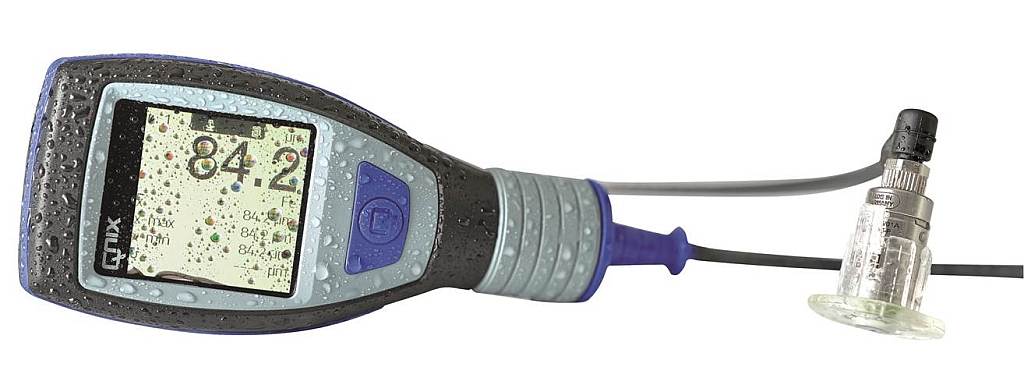

QNix® 5500 is our recommendation for industrial coatings,
Surface finishing and heavy-duty corrosion protection
A coating thickness gauge for coating control on metal
Let us convince you of the features, advantages and technical data of the new QNix 5500 We are sure to provide you with added value for your measuring tasks Quality and service are and will remain our top priority
QNix® 5500 measuring device
QNix® 5500 probe
QNix® 5500 measuring device
Safety through precision and accuracy
For valid measurement results in your quality assurance
- High accuracy over the entire measuring range
- High repeatability of measurement results
- Temperature compensation directly in the sensor
Robustness and resistance
For long and reliable use, even under harsh conditions
- Fiberglass-reinforced, five-part housing with IP65 dust and splash water protection
- Three-layer protection to absorb shocks
- LCD screen made of scratch-resistant, chemical-resistant* glass (level H6)
- Operating temperature from -20 °C to +70 °C
Saving time through ergonomics
Fast and fatigue-free working, even in continuous operation
- Bright IPS LCD, 2.4″, color, 600 lm, reading angle 70°
- Optimum readability even in direct sunlight, automatic or manual brightness adjustment
- Flipping display 0°, 90°, 180°, 270°. Automatic or manual
Flexibility and expandability
Future-proof thanks to interchangeable probes
- Hand-held device suitable for Fe, LFe and dual probes
- Quick change to cable probes
- Integrated probe and cable probe available in one device (with modular version)
- Increased operational readiness thanks to quick probe changes
QNix® 5500 probe
The QNix® 5500 with integrated probe
an economic compromise
- The following probes are available for the integrated version of the QNix® 5500
- It is not possible to change the probe or connect the probe adapter cable
Smallest QNix® measuring probe
Also for small and hard-to-reach measuring surfaces
- Precise measurements even on curves and small parts
- Smallest radius of curvature convex Fe 6 mm, NFe 70 mm with zero point adjustment (normalization to zero)
- Smallest thickness of the base material Fe: 0.2 mm, NFe: 0.05 mm
- Smallest measuring surface 14.5 mm
- Weight 11.9 g
3rd generation digital probe
RGB LED limit value display
- Temperature compensation directly in the sensor
- The measurement technology is fully integrated in the probe
Extremely robust
For long and reliable use (IP65)
- Stainless steel probes with dust protection membrane (IP65)
- Robust measuring head with polished ruby
- Chemical-resistant material for cleaning with solvents (acetone, nitro thinner)
The QNix® 5500 with modular probe
Maximum flexibility
- Simple probe change
- The following probes are available for the modular version of the QNix® 5500
- Adaptation to a wide variety of measurement situations
The probe adapter cable
Quick change between integrated probe and cable probe
- Probe adapter cable made from drag chain-compatible PUR
Our product range
With its QNix® brand, Automation Dr. Nix offers a wide range of coating thickness gauges for the non-destructive measurement of coatings for a wide variety of applications in a wide range of industries.
QNix® 9500
Highly accurate and extremely robust coating thickness gauge. Ideally suited for measurement tasks with requirements for measured value storage, archiving, creation of documentation & reports and device configurations.
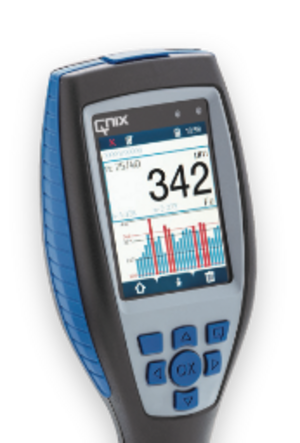
QNix® 5500
The optimum device for quick and easy checking of coating thickness. Handy, precise, extremely robust, designed for continuous use and very user-friendly. Simply switch on, put on, read off
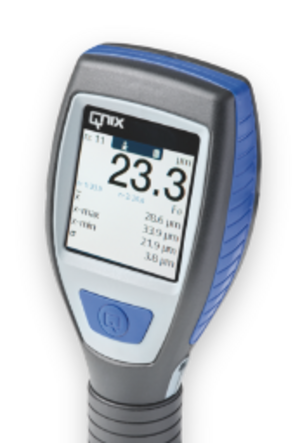
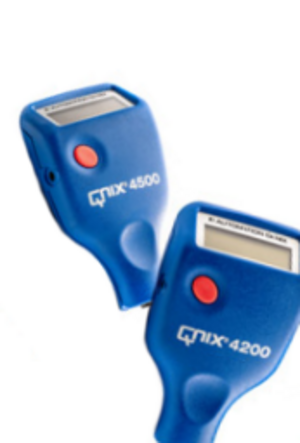
QNix® 4500 / 4200
Universal, tried and tested and reliable. Wide range of applications and easy handling.
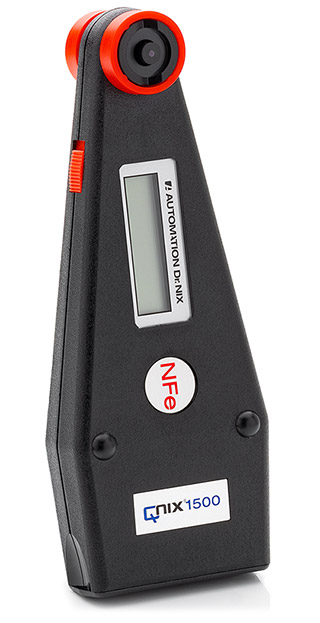
QNix® 1500
The classic coating knife. Very popular with motor vehicle experts, especially proven for larger measuring areas. With automatic on/off and one-hand operation.
